A not-so-simple set of instructions
We spent our Friday and Saturday playing with the new beta release of SteamOS!
Valve released to the world the first beta of SteamOS, a Linux-based operating system built specifically for PC gaming, on Friday evening. We have spent quite a lot of time discussing and debating the merits of SteamOS, but this weekend we wanted to do an installation of the new OS on a system and see how it all worked.
Our full video tutorial of installing and configuring SteamOS
First up was selecting the hardware for the build. As is usually the case, we had a nearly-complete system sitting around that needed some tweaks. Here is a quick list of the hardware we used, with a discussion about WHY just below.
| Gaming Build | |
|---|---|
| Processor | Intel Core i5-4670K - $222 |
| Motherboard | EVGA Z87 Stinger Mini ITX Motherboard - $257 |
| Memory | Corsair Vengeance LP 8GB 1866 MHz (2 x 4GB) - $109 |
| Graphics Card | NVIDIA GeForce GTX TITAN 6GB - $999 EVGA GeForce GTX 770 2GB SuperClocked - $349 |
| Storage | Samsung 840 EVO Series 250GB SSD - $168 |
| Case | EVGA Hadron Mini ITX Case - $189 |
| Power Supply | Included with Case |
| Optical Drive | Slot loading DVD Burnder - $36 |
| OS | FREE!! |
| Peak Compute | 4,494 GFLOPS (TITAN), 3,213 GFLOPS (GTX 770) |
| Total Price | $1947 (GTX TITAN) $1297 (GTX 770) |
We definitely weren't targeting a low cost build with this system, but I think we did create a very powerful system to test SteamOS on. First up was the case, the new EVGA Hadron Mini ITX chassis. It's small, which is great for integration into your living room, yet can still hold a full power, full-size graphics card.
The motherboard we used was the EVGA Z87 Stinger Mini ITX - an offering that Morry just recently reviewed and recommended. Supporting the latest Intel Haswell processors, the Stinger includes great overclocking options and a great feature set that won't leave enthusiasts longing for a larger motherboard.
Now, for the all important GPU selection, we over did it a bit. We happen to already have a GeForce GTX TITAN in this system for some other testing we were doing (we wanted to make sure the Hadron chassis power supply could handle it) and decided to leave it in. As one of the fastest (and the most expensive) single GPU cards on the planet, the TITAN will make a fantastic GPU for a SteamOS build but I would not recommend buying one specifically for this purpose. In reality, when hooked up to a TV, the GTX 770 or GTX 780 will have more than enough horsepower for the job and you can grab pre-overclocked GTX 770s for $349 and below! Saving $650 will buy a lot of Linux Steam games!!
The only other note worthy part of this build is the storage media - in our actual system we have a smaller Intel SSD, something we happen to have just laying around for our video. For a gaming system that will have multiple games installed often going over 20GB each, you'll want some more space than the 160GB we included. I think a 250GB or 500GB Samsung 840 EVO SSD is your best option if you want speed or you can still get a 3TB hard drive for $113!
Throughout the next couple of weeks we'll be working on some other SteamOS-ready system builds for various price segments and chassis styles so stay tuned for that!
SteamOS Installation
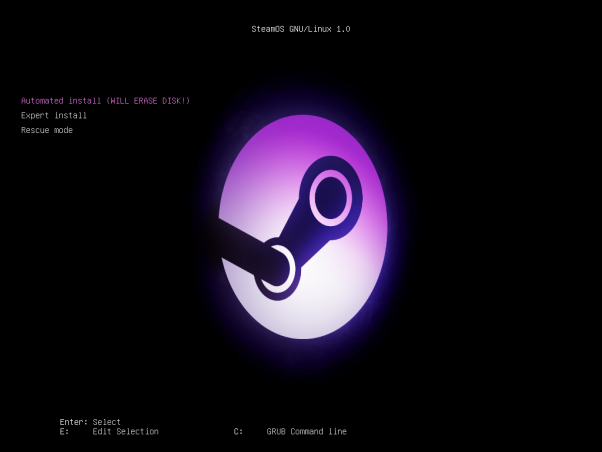
The SteamOS installation is covered to completion in the video embedded above. We based our installation on the directions found on Valve's website which are short, but pretty clear. You can find the download link to the beta operating system files right here as well.
After copying the files to a USB drive you need to set your BIOS/UEFI to boot from that drive and the setup is pretty much automated. There is one potential problem that you may run into that can be very frustrating! If you happen to run the installation and then see this error page mentioning /dev/sda or /dev/sdb being busy, check out the solution video below.
And be careful with this installer! Disconnect any other hard drives or USB drives you have attached to your PC to avoid potential accidental repartitioning!!
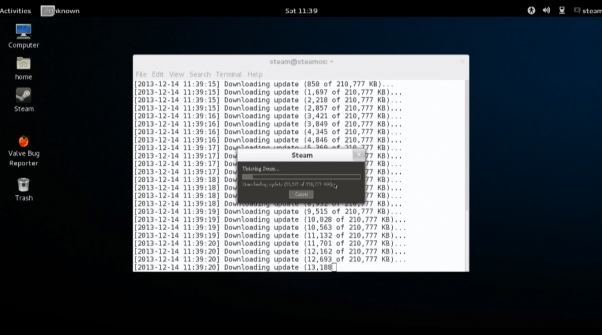
Once you have installation working, it boots into the operating system and there a few other steps that need to take place. You have to open up a terminal and run 'steam' to install that application and run all applicable updates. The setup directions will also walk you through creating a recovery partition and then on your final reboot, you'll be placed into Steam Big Picture mode under SteamOS!
Once you get there you are officially in the club of Linux gaming. The problem of course is a limited amount of games and in particular AAA titles. Hopes remain high amongst the gaming community that with the push to OpenGL on PS4 coupled with the SteamOS release more developers will create Linux-compatible games. That is definitely a long term goal though so don't install SteamOS today under the belief you can migrate here completely.
The local network streaming capability for SteamOS isn't enabled yet either so don't expect to play your Windows-only games that way either.
For now though, let me know your thoughts and experiences with SteamOS in the comments below!!
Our full video tutorial of installing and configuring SteamOS


